💻 Hatari on Raspberry Pi without X11
Martin Döring, last modified 14th of June, 2022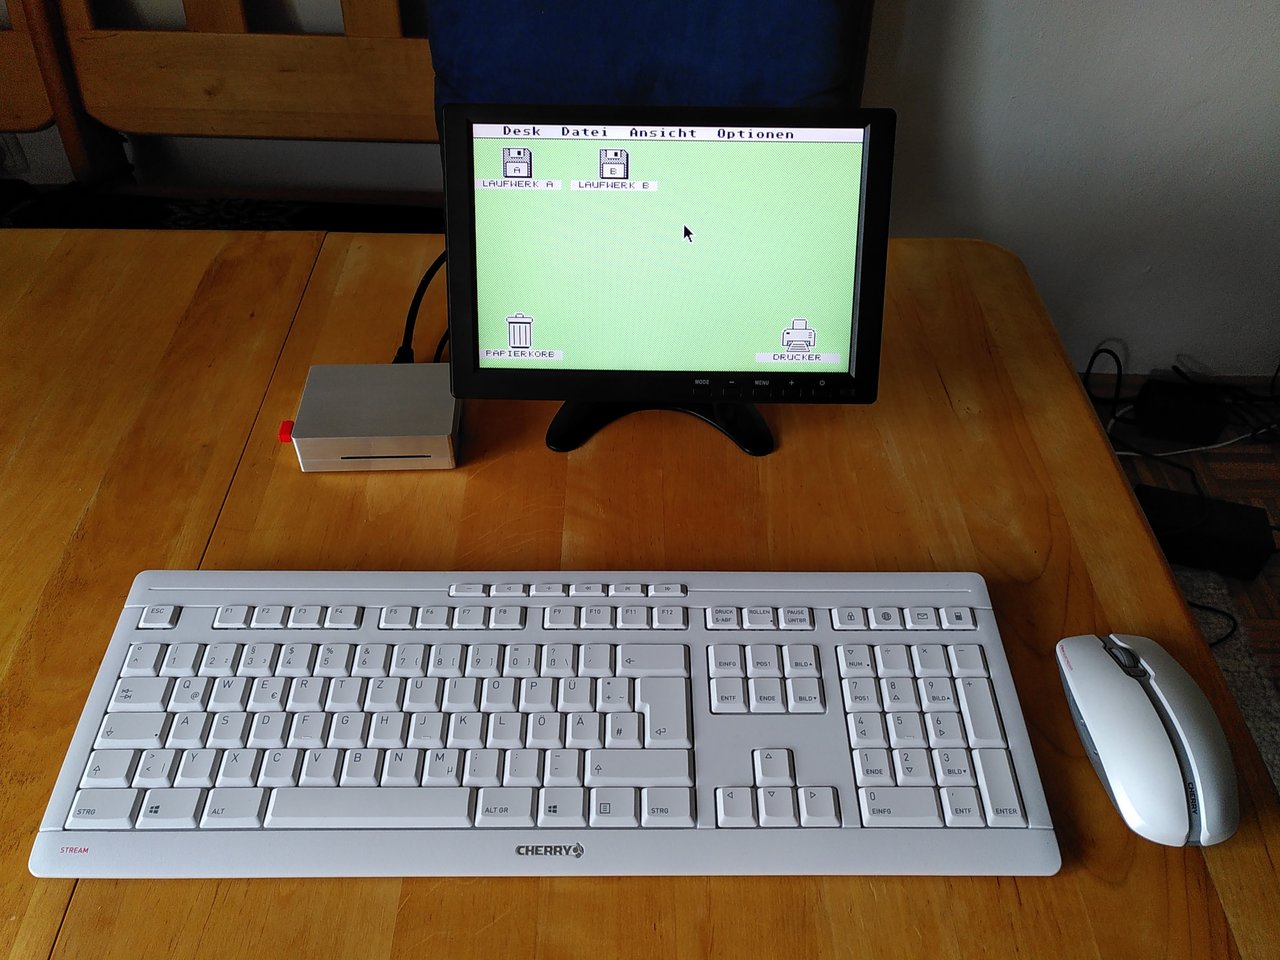
We want to install a minimal Linux system on a Raspberry Pi 3B or 4, which only serves to provide us with an Atari ST emulator Hatari. The goal compared to a normal installation of a graphical Raspberry Pi OS should be to install as little useless stuff as possible, to still fully use the accelerated graphical features of the Raspberry Pi and in the end to boot directly into the emulator later on, so that the emulated Atari ST with EmuTOS and everything else we can install on-top on this basis is fully in the foreground.
The solution to use a Raspberry Pi as a new and modern quasi-Atari ST is especially interesting because this computer is available for 30-40 Euro plus case, 5V USB power supply, keys and mouse and it has everything already in it that you have to upgrade the lovingly maintained old Ataris from 260ST to Falcon expensive today:
- USB mouse and keyboard adapter
- Conversion from analog video output to HDMI with scan doubler or scan converter
- Exchanged or recapped power supplies
- Harddisk emulators, like Ultrasatan or ACSI2SD
- Virtual or repaired real floppy drives, example Gotek
- CPU accelerators and Fast RAM cards
- Ethernet cards with drivers for TOS or Mint or both
- Good keyboard and optical mouse
If you just add up what all this costs, then you know what such a real Atari retro darling is really worth to you. I am also susceptible... ;-)
What this article does not or not yet cover:
- Configuration of the HDMI monitor regarding resolution and sound.
- Audio output (I have to deal with this first, will be added)
- Peripheral devices, like printer, midi etc...
- Stop the system automatically after stopping Hatari
- Use of Aranym - I didn't get it working on 64Bit Raspberry Pi OS yet.
If you want a ready-to-use system of this kind with all the trimmings, without trying to understand everything in detail, I can highly recommend BeePi by Philippe.
BeePI 2.0Here only the MicroSD-Card has to be flashed and the rest is highly automated and very well thought out. On the other hand, if you want to understand a system and possibly build and optimize it yourself piece by piece, you can read on now.
Linux knowledge on the command line, operation of an editor etc. is also assumed here. A remote access via ssh is also useful to import additional data, ROMs etc. from another computer.
Installation of Raspberry Pi OS
First we get the Raspberry Pi Imager from the Raspberry Pi Foundation, insert a MicroSD card into our notebook (if necessary with adapter or appropriate reader) and flash the Raspberry Pi OS lite onto our card. So the system without graphical user interface:
https://www.raspberrypi.com/software/I tested all this with the 64 bit variant, whether it works with 32 bit too, I haven't tried yet.
The imager can download the system itself and then save it to the MicrSD card. We plug it into our Raspberry PI, connect monitor, keyboard and mouse and start it.
Next we need to get our fresh system into our WLAN or LAN after it has started and we have answered some initial questions. LAN is easy: plug in the cable from the router. For WLAN we call raspi-config and configure the system:
sudo raspi-config
> 1 System Options
> S1 Wireless LAN
Here we specify our WLAN and the corresponding password.
System Preparation
We will now bring the system up to date and reboot it:
sudo apt update
sudo apt upgrade
sudo reboot
sudo rpi-update (because of EGL-Driver)
sudo reboot
Now we prepare our Raspberry Pi to have accelerated graphics on the console:
$ sudo raspi-config
select '6 Advanced Options'
select 'A2 GL Driver
select 'G2 GL (Full KMS)
sudo reboot
Install what development tools we need:
sudo apt install git cmake
Install other libraries we need for SDL:
sudo apt install libudev-dev libasound2-dev \
libdbus-1-dev mesa-utils-extra libegl1-mesa \
libdrm-dev libgbm-dev
The following videocore binary blobs are normally installed and do not need to be installed separately. Here for reference only:
sudo apt install libraspberrypi0 libraspberrypi-bin libraspberrypi-dev
Somehow the path under /usr/local doesn't seem to belong to the system officially anymore, so here's the addition for libraries and binaries, to the addition at the end of the file ~/.bashrc
$ export LD_LIBRARY_PATH=/usr/local/lib

$ export PATH=$PATH:/usr/local/bin
Then log out once and log in again and see if the two variables are set for our user with:
echo $LD_LIBRARY_PATH
echo $PATH
SLD 2 Extract & build
We put all our source code for SDL and Hatari into a separate folder:
mkdir -p ~/src,
cd src
Now we first get the SDL2 library with Git:
git clone https://github.com/libsdl-org/SDL
cd SDL
We build our own folder - pure aesthetics:
mkdir -p build
cd build
And now we configure our SDL2 library to run only on the console of the Raspberry Pi, but not under X11, Wayland or anywhere else:
../configure \
--disable-pulseaudio \
--disable-video-vivante \
--disable-video-opengl \
--disable-video-wayland \
--disable-video-directfb \
--disable-video-volcano \
--disable-video-metal \
--disable-video-cocoa \
--disable-video-rpi \
--enable-video-kmsdrm \
--enable-video-opengles

make
sudo make install
SDL2 is now installed under /usr/local, so that our self-built programs do not mix with those installed via the package manager.
So now we have everything we need as a base for Hatari.
Building and installing Hatari from source code
First we get the source code of Hatari, again using Git:
cd ~/src
git clone https://git.tuxfamily.org/hatari/hatari.git/
cd hatari
mkdir -p build
cd build
../configure
make
sudo make install
If we are logged into a console, we can use the keyboard automatically. But if we start a graphical program directly without a graphical user environment like Gnome, KDE, or X11, it needs explicit permission to use input devices. The user gets this permission by adding him to the group "input":
sudo usermod -aG input $USER
exit # and log in again
Now we have everything we need to start Hatari on the Linux console from the Raspberry Pi directly:
hatari
Start Hatari automatically on system startup
Now we want our system to boot right into hatari at startup, and when we exit hatari with F11 and Quit, give us a menu with more options, whether we want to go into a shell, reboot the system, or shut down completely.
For everything here following we first become root user:
sudo -i
We create our own group and our own user "atari", under which Hatari will run later and assign a password:
groupadd atari
useradd -g atari -d /home/atari -m -s /bin/bash -c "Atari User" atari
usermod -a -G sudo,video,audio,input atari
passwd atari # set password
Then we allow all users in the group "atari" to shutdown or reboot the system without entering another password:
To do this, we become root again and create the following file:
nano /etc/sudoers.d/010_hatari-nopasswd
with this content:
# Allow users in group "atari" to stop the system
%atari ALL=NOPASSWD: /sbin/reboot, /sbin/poweroff
This will only take effect after logging out and logging in again or rebooting the system. But we are not the user "atari" at the moment anyway.
Now we build a menu which later allows us to choose what we want to do after leaving Hatari. We write it in this file
nano /usr/local/bin/hatari-menu.sh
... with this content:
#!/bin/bash

# Set paths for Hatari and SDL
export LD_LIBRARY_PATH=/usr/local/lib
export PATH=$PATH:/usr/local/bin

# At first always boot into Hatari (delete if not liked)
hatari

# After closing Hatari, now give us a choice
while true
do
    cmd=(dialog --keep-tite --menu "Hatari Menu" 11 12 4)

    options=(1 "Hatari"
             2 "Shell
             3 "Reboot
             4 "Shutdown")

    choices=$("${cmd[@]}" "${options[@]}" 2>&1 >/dev/tty)

    for choice in $choices
    do
        case $choice in
            1) hatari ;;
            2) /bin/bash ;;
            3) sudo /sbin/reboot -f ;;
            4) sudo /sbin/poweroff -f ;;
        esac
    done
done
Now we make our menu script executable:
chmod +x /usr/local/bin/hatari-menu.sh
For this menu to work, we still need to install a command, if we haven't already done so, which will show us the nice menus later:
apt install dialog
To test if our menu works, we can call it once by hand. With < ctrl > +C we can stop it hard again or get out of there - or with a reboot ;-)
And now we want our menu to appear automatically on the first virtual console when we start the computer, instead of the login. For this we create a file again:
nano /etc/systemd/system/getty@tty1.service.d/override.conf
... and write the following into it:
[Service]
ExecStart=
ExecStart=-/usr/local/bin/hatari-menu.sh
StandardInput=tty
StandardOutput=tty
StandardError=tty
Now we reload the system daemon and restart the display for TTY1:
systemctl daemon-reload
systemctl restart getty@tty1.service
Now we should be ready to boot our system into Hatari and if we leave it with F12 and Quit we get our menu what to do next
Of course Hatari still has to be equipped with an EmuTOS or other ROM, this has to be somewhere in the home directory of the Linux user "atari". This step and all other steps to set up Hatari are exactly the same as everywhere else in Hatari.
From here on your system will basically work like an Atari with a modern and flexible substructure. Have fun with your new Hatari/EmuTOS system.
Attention!!! In case of problems you can always log on to a second console via <strg>+<alt>+F2 and fix errors. The console tty1 is occupied by Hatari. You can always reach this with <strg>+<alt>+F1
I am always happy about additions or discovered errors. Contact see above.
Links
SDL2 information about the Raspberry PiDirect usage of video driver kmsdrm with SDL2
EmuTOS as modern further development of TOS
Hatari documentation
SDL2 on Raspberry Pi without X?
Back
Privacy Information